Bridge between Avail & Base
Video guide
If Youtube is more your style, you can watch the video guide below, or else you can just refer to the written guide below this section.
Using the Bridge
CHOOSE NETWORKS CAREFULLY
The bridge UI defaults to a Avail → Ethereum network combination.
Choose your networks carefully.
Go to the official avail-bridge UI & select the networks you want to bridge between
- Go to bridge.availproject.org .
- Select the source chain as
Avail - Select the destination chain as
Base - Or vice-versa, if you want to bridge from Base to Avail.
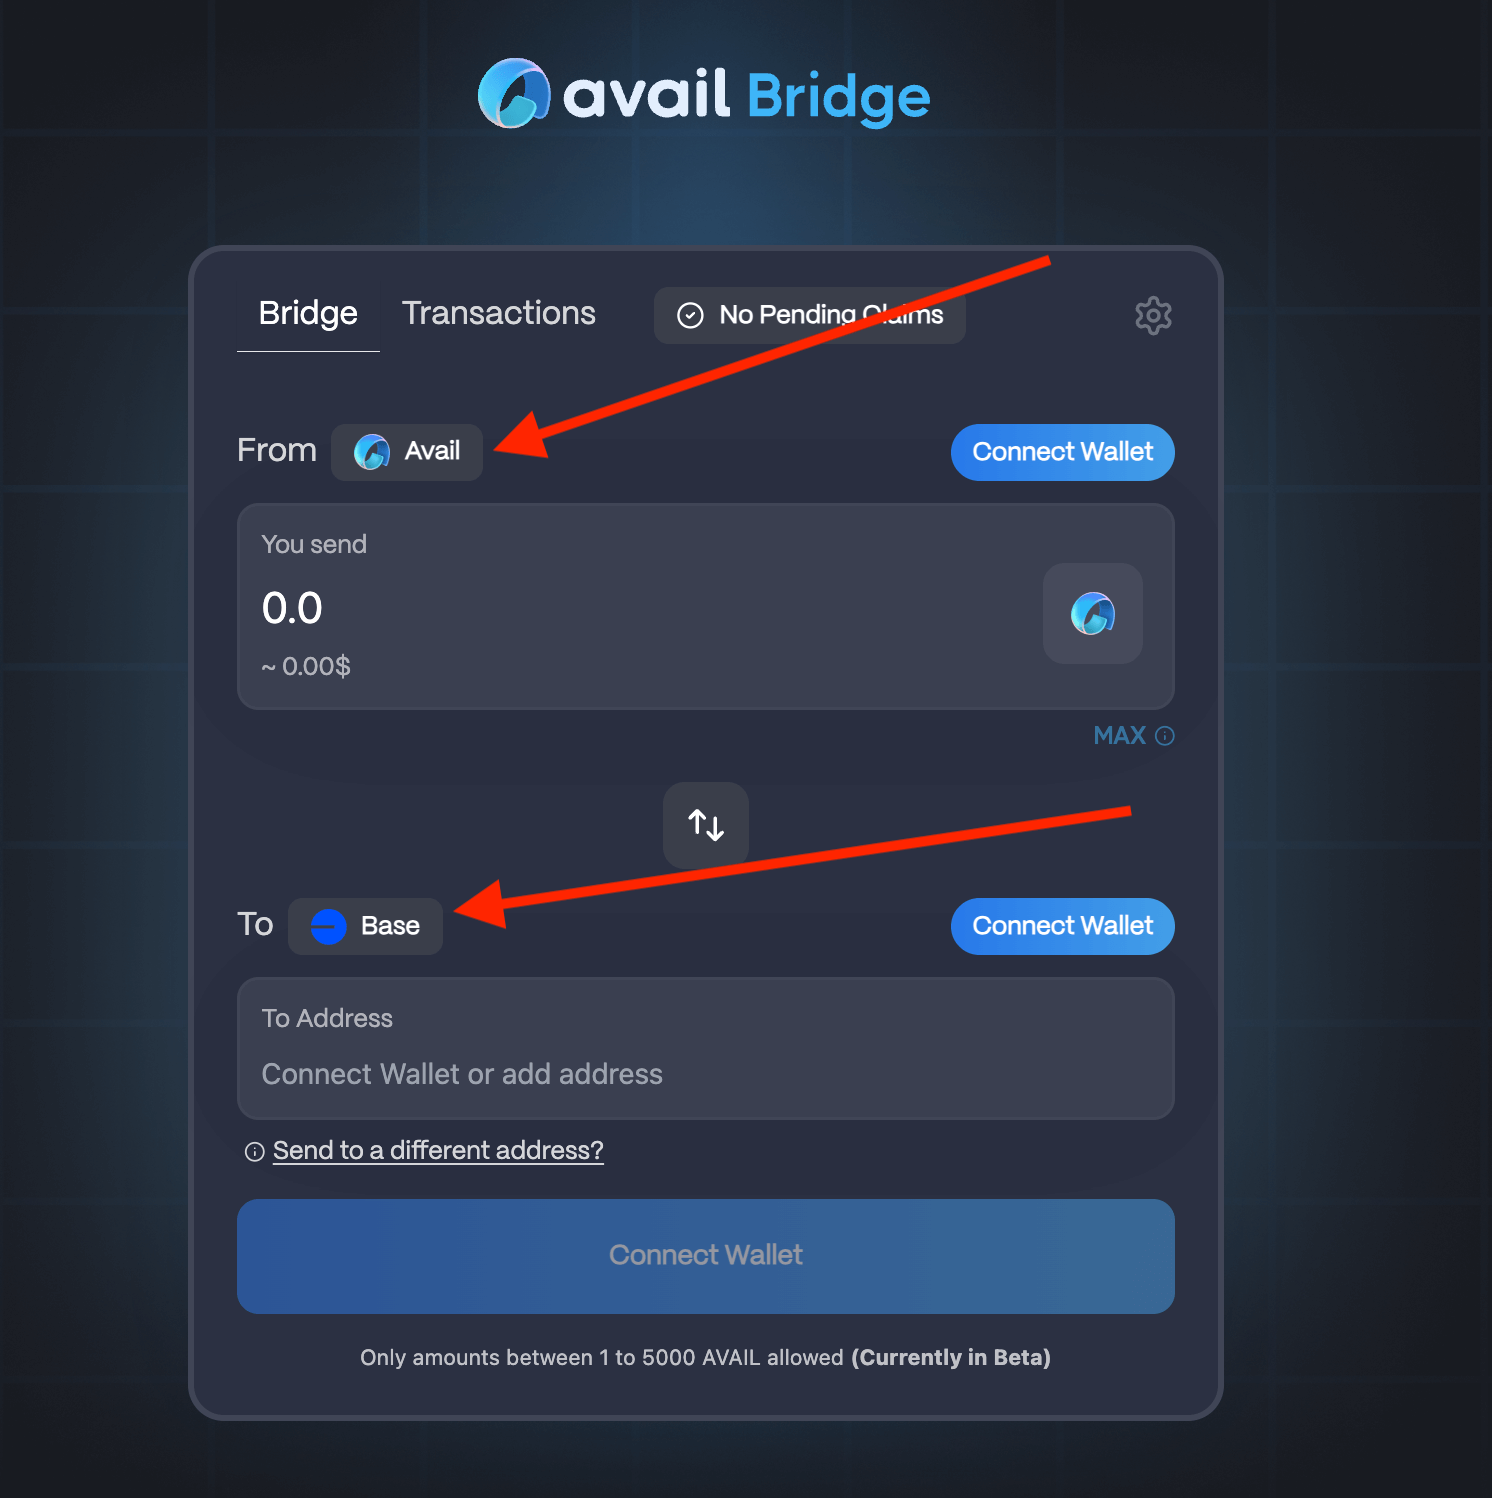
Connect your wallets
- Connect your Avail wallet.
- Connect your Base EVM wallet.
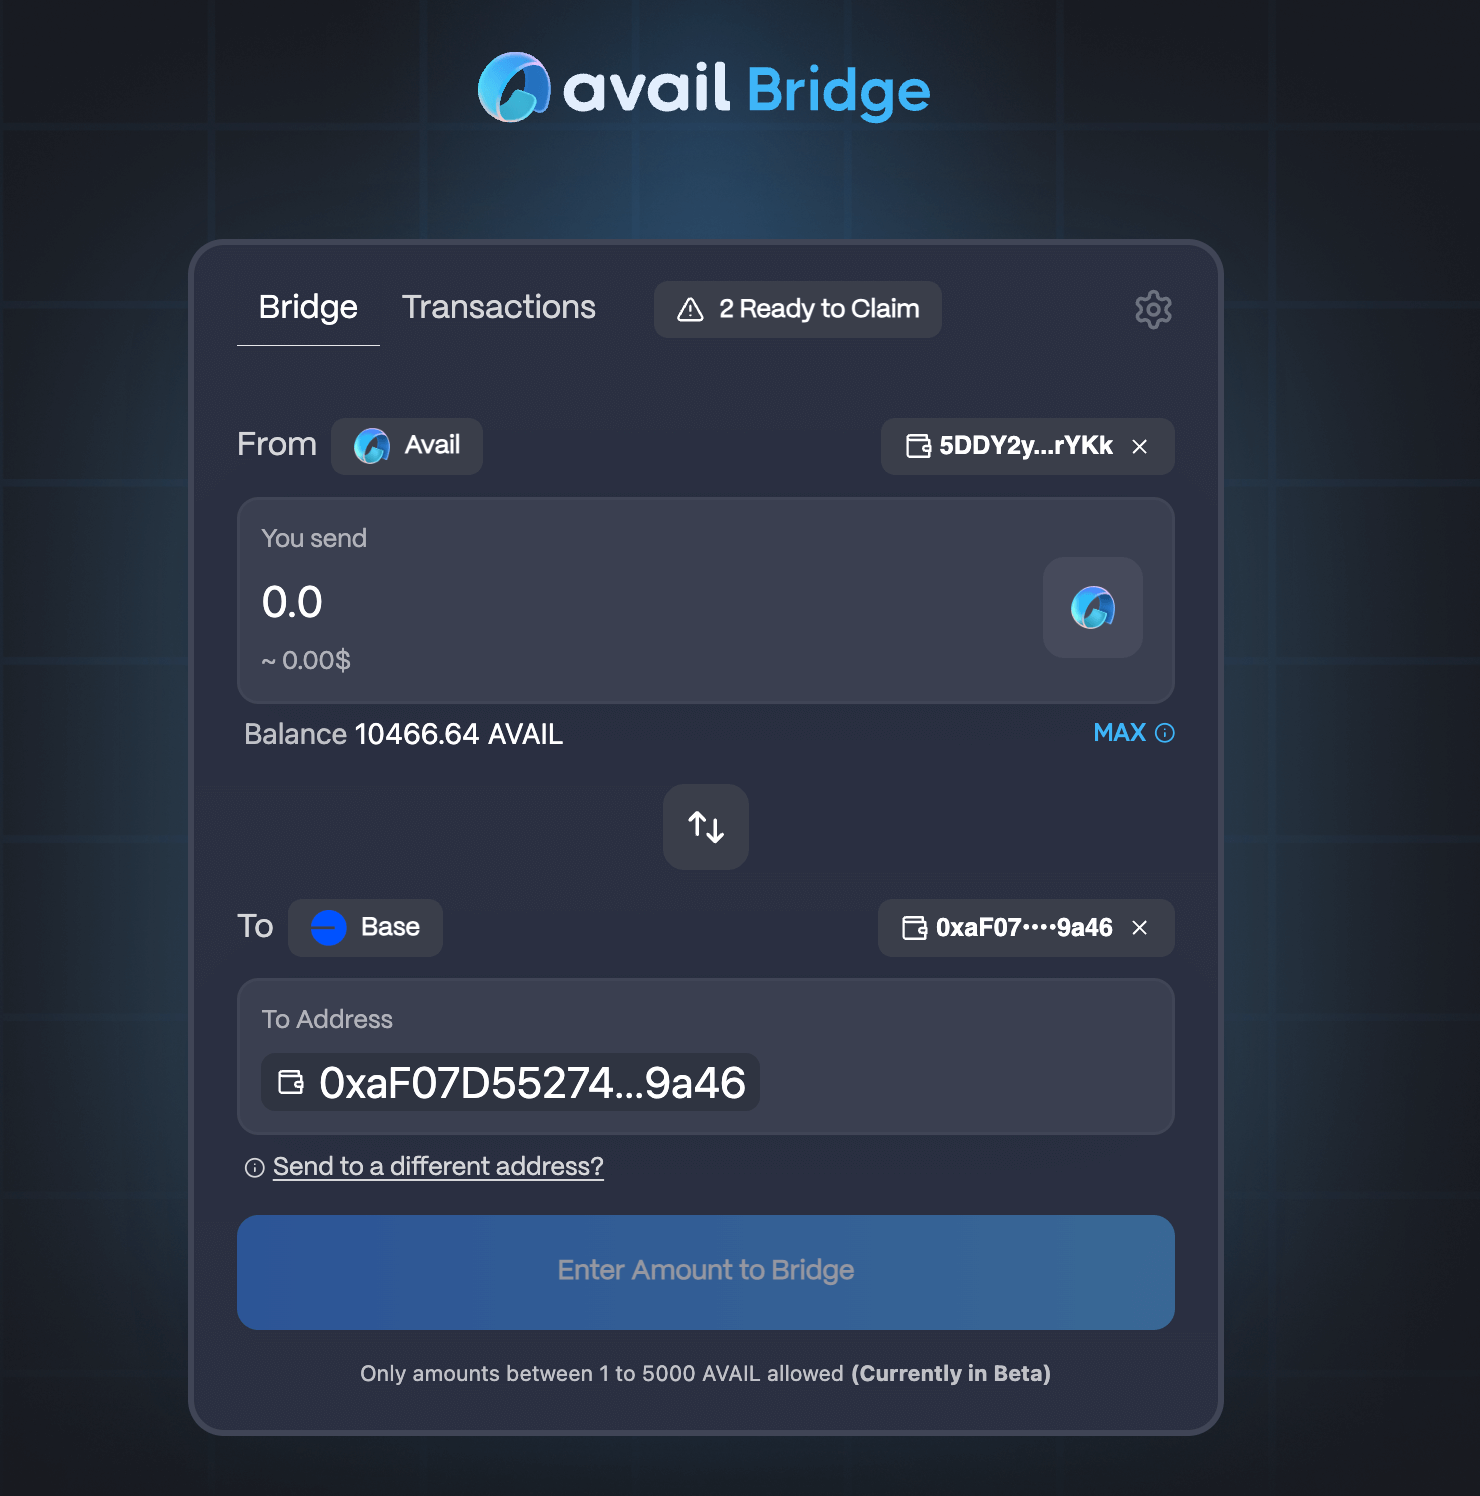
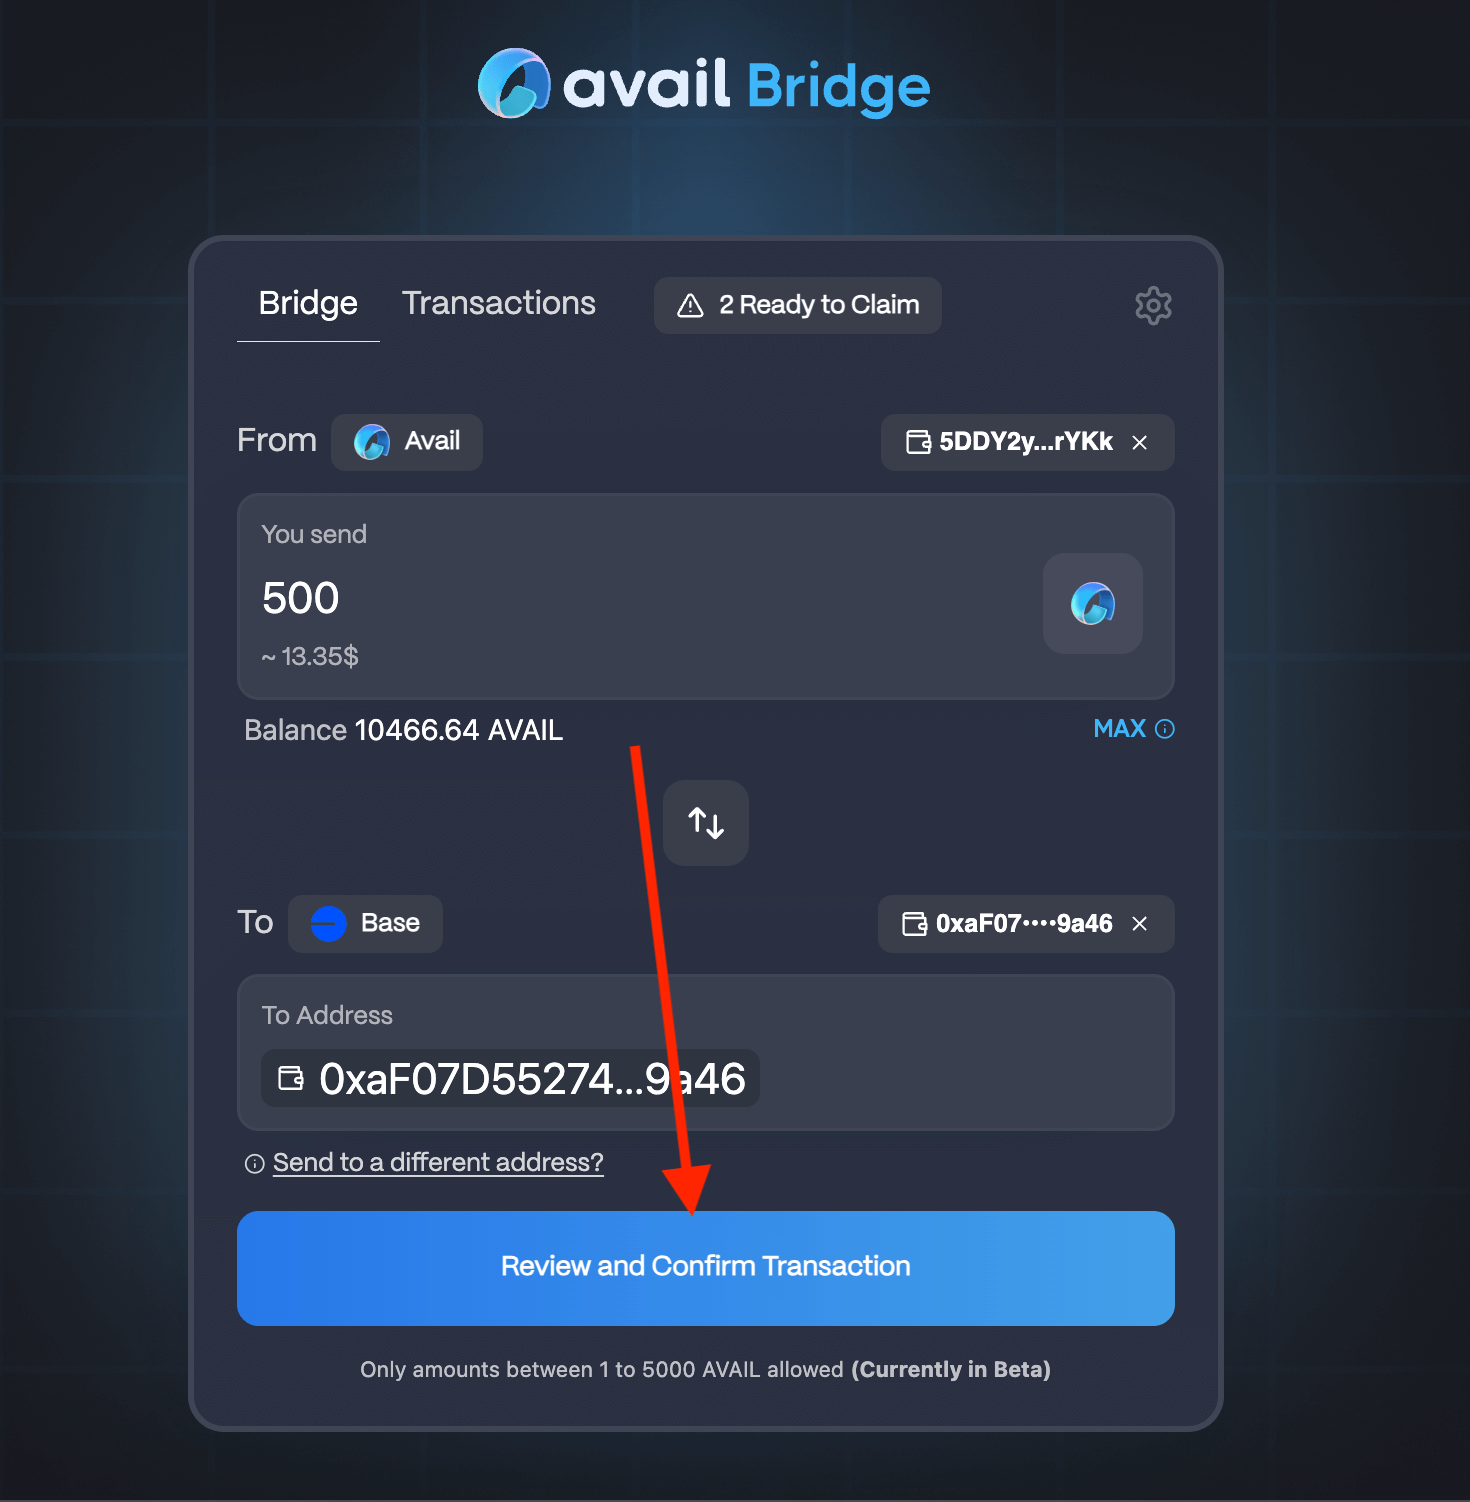
Enter transaction details
- Enter the amount you want to bridge.
- Click on the
Reviewbutton to review your transaction details.
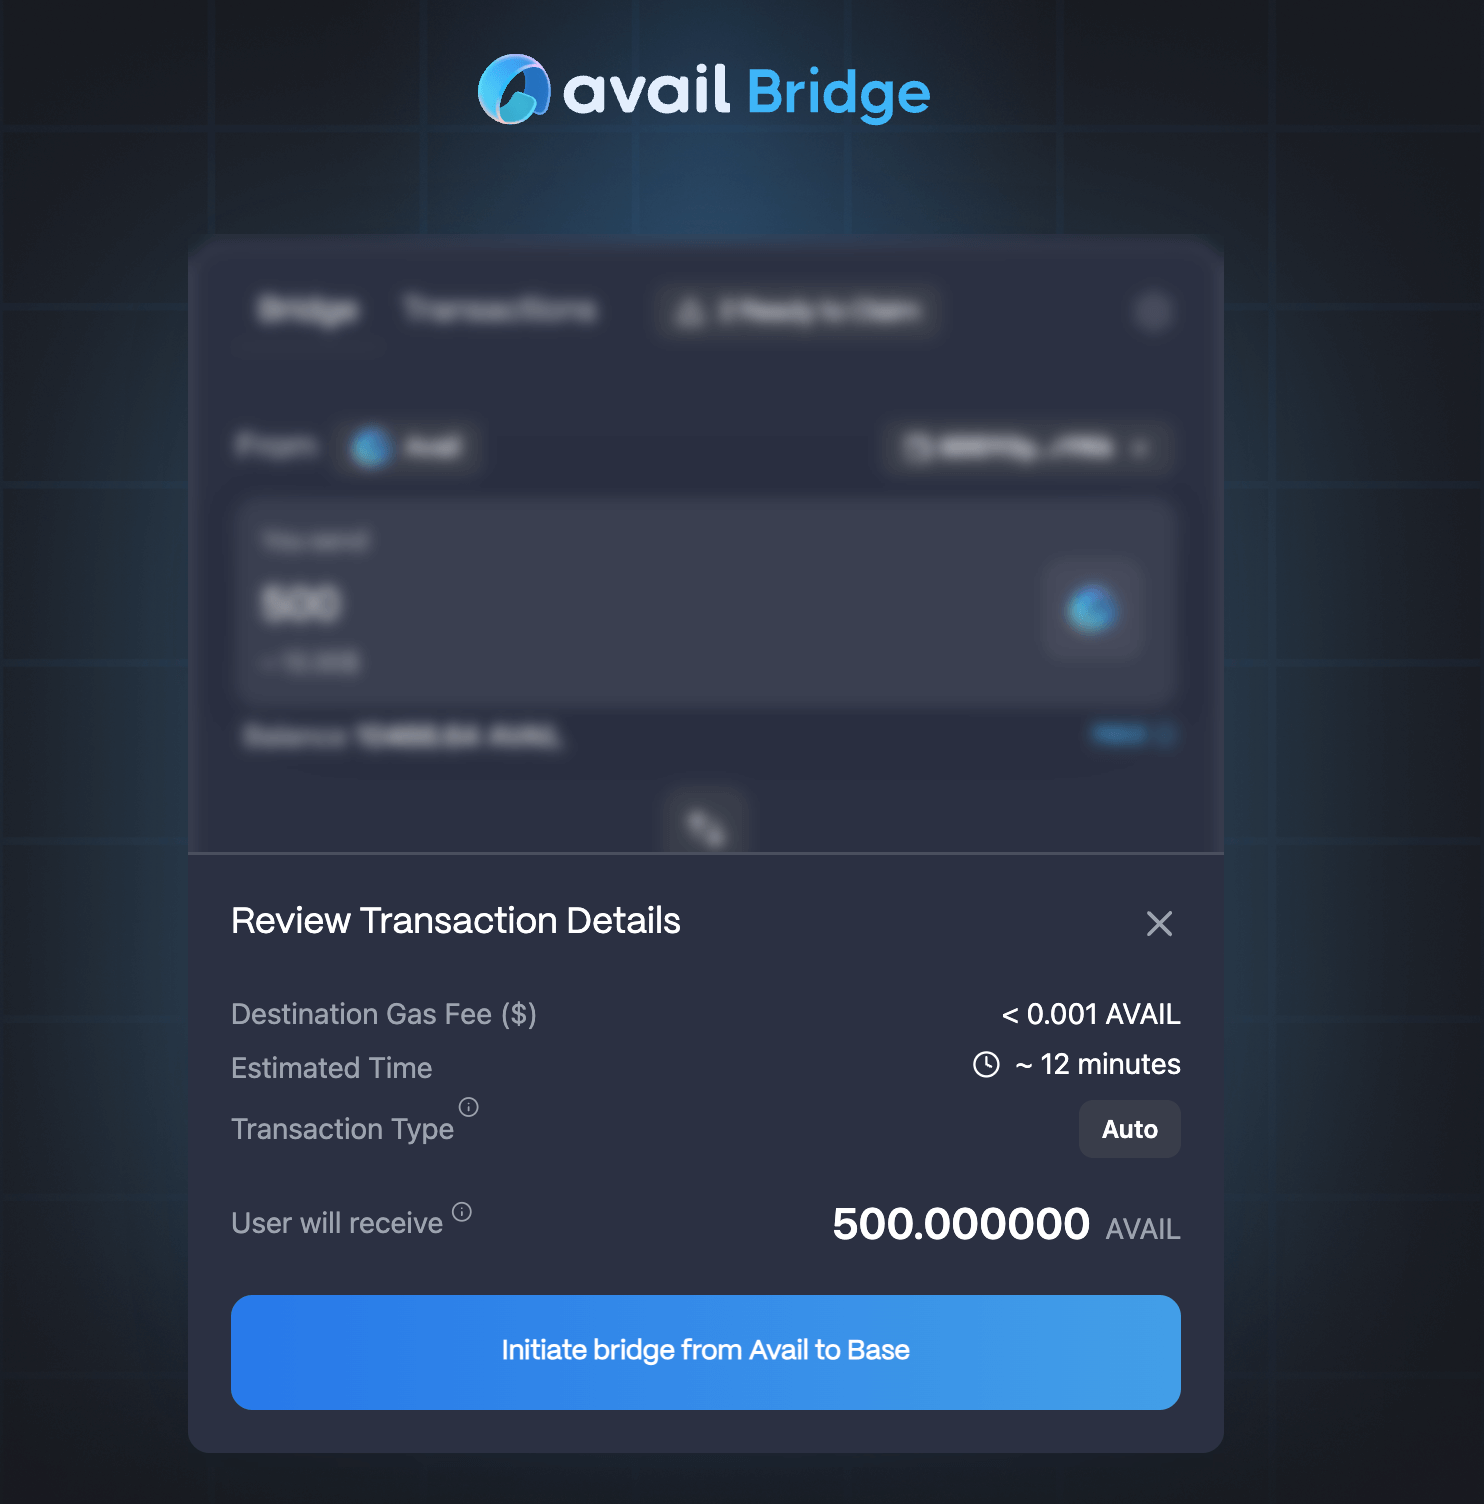
Initiate the bridging process
- Click on the
Initiatebutton to start the bridging process. - Approve the two signatures that pop up.
And that’s it!
The bridging process between Avail & Base takes around 5 minutes and the funds are sent automatically to the user on the destination chain.
This exact process can be reversed to bridge AVAIL from Base to Avail.
Last updated on